First Steps in Godot
Creating My First Character
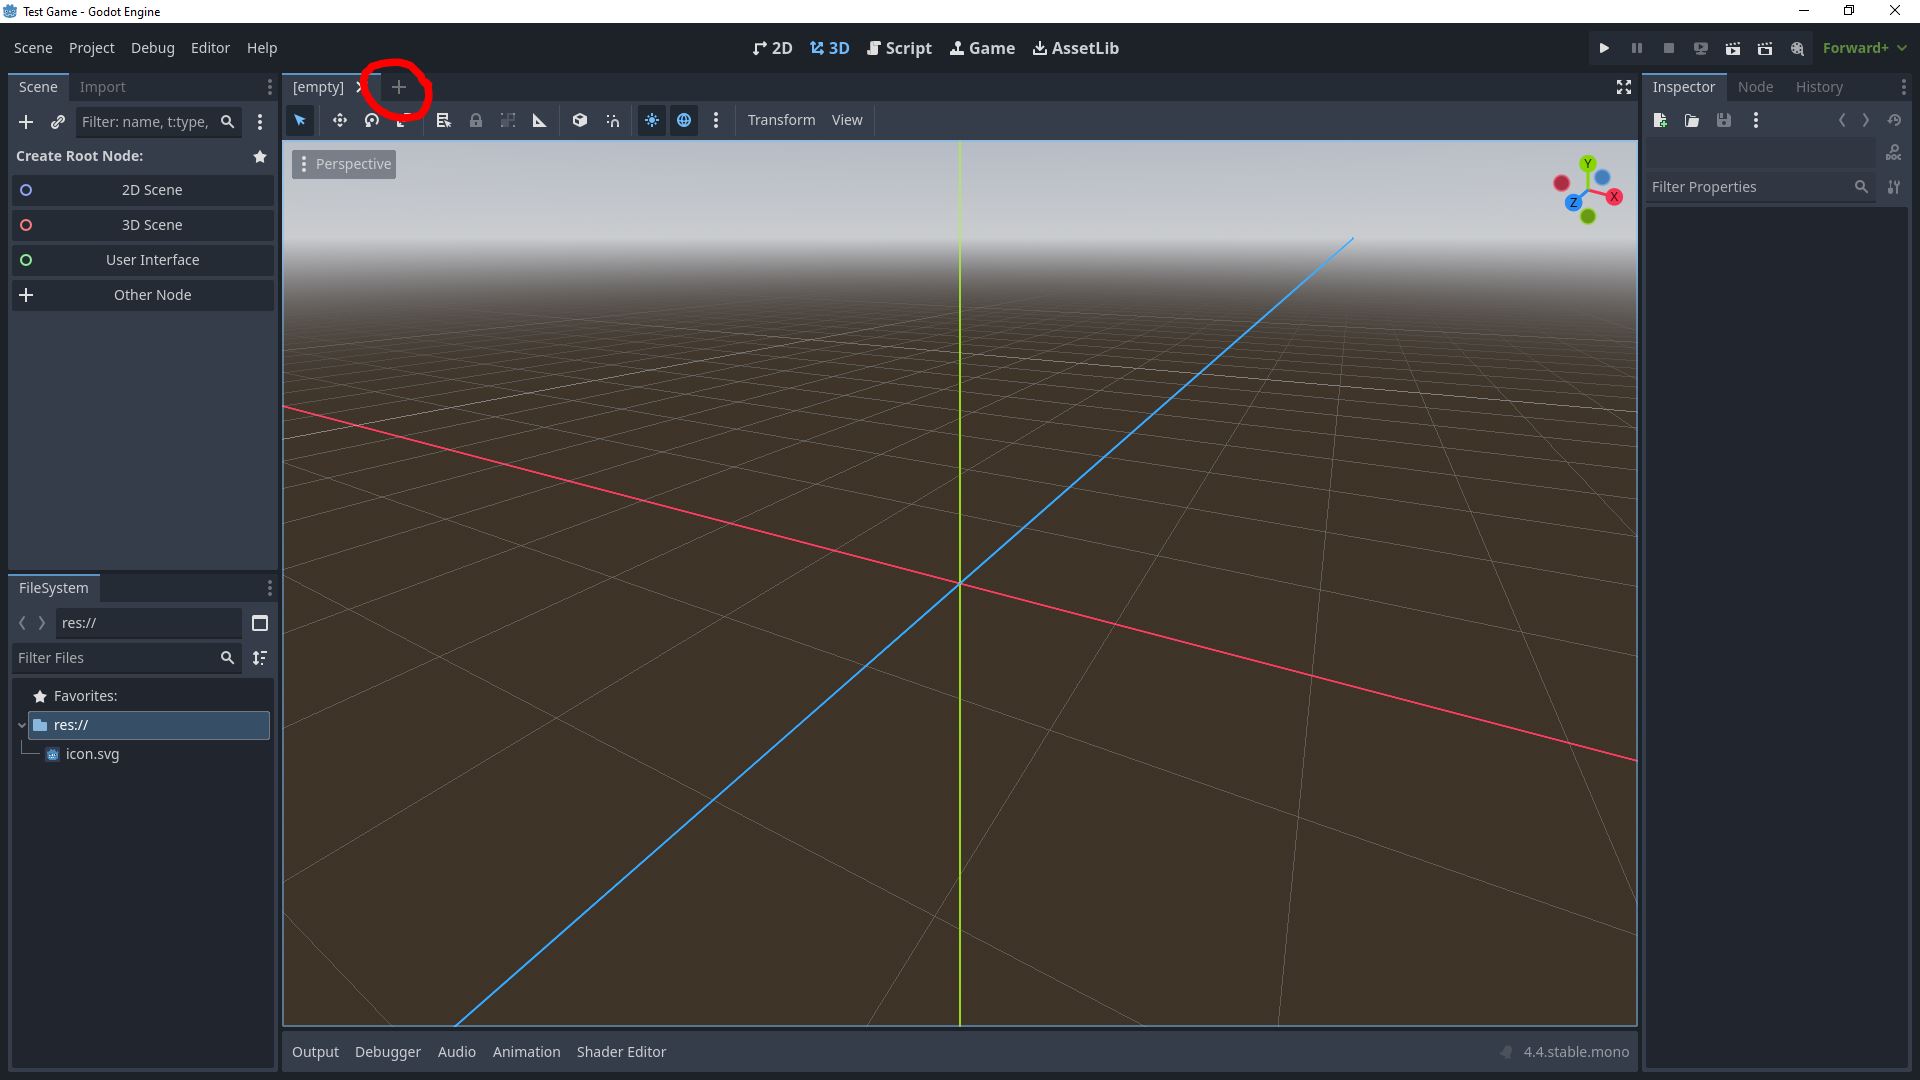
Godot is structured around scenes and nodes. In many ways, nodes function like classes in traditional object-oriented programming. While you can create a single node and attach a script to it, you can also apply OOP principles by extending scripts and creating custom nodes that inherit from other nodes. To start I can create a character by creating a new scene by click the plus button next to the scene tabs, or pressing Ctrl-N.
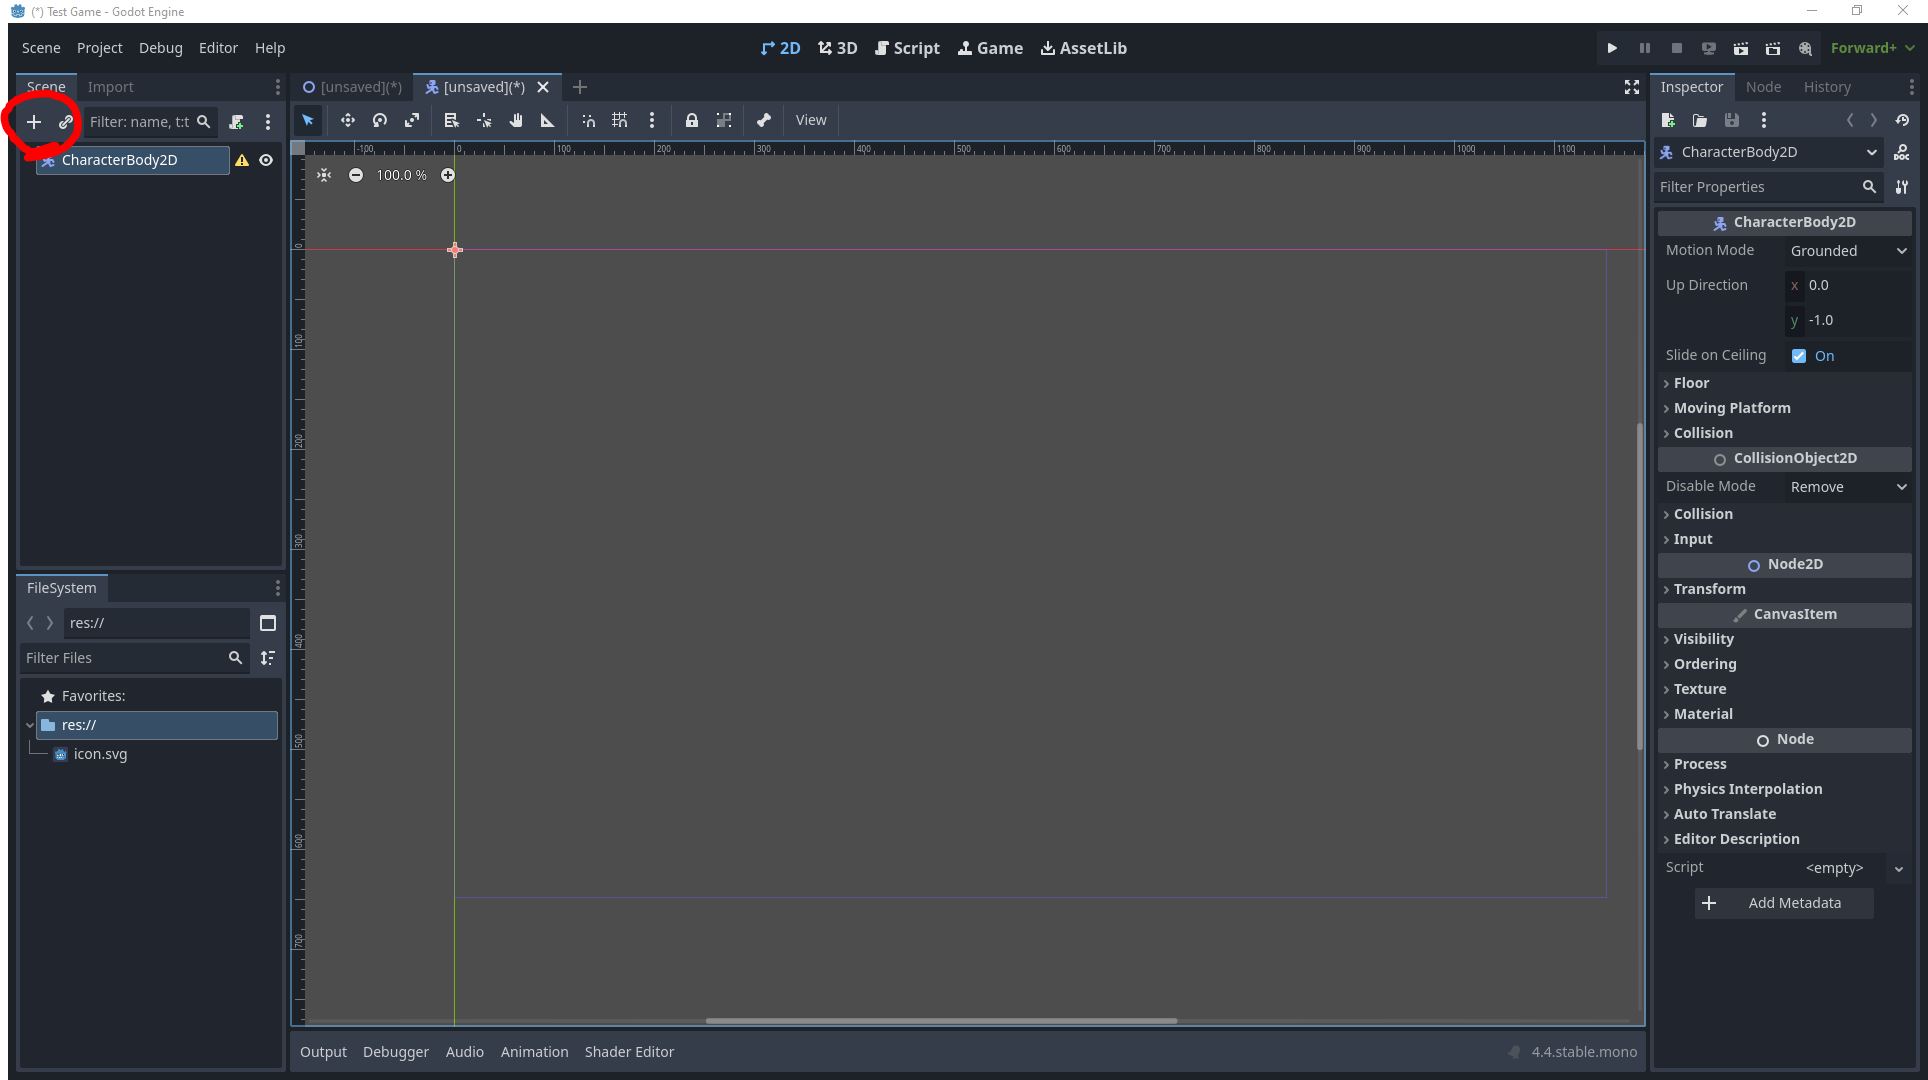
Then, you can name the scene something like "Player" and add a new node to the scene. You can choose any Node, but for a 2D player character, a CharacterBody2D works great. You may notice that you get a warning when you add this node. This is because the body current has no sprite to represent the body, and it has no collision shape to define it either. You can add this easily by adding child nodes, which are like child classes, that inherit the character body and defines these problems. To add a sprite simply highlight the parent node, then click the add child node button, or press Ctrl-A and add the AnimatedSprite2D and CollisionShape2D.
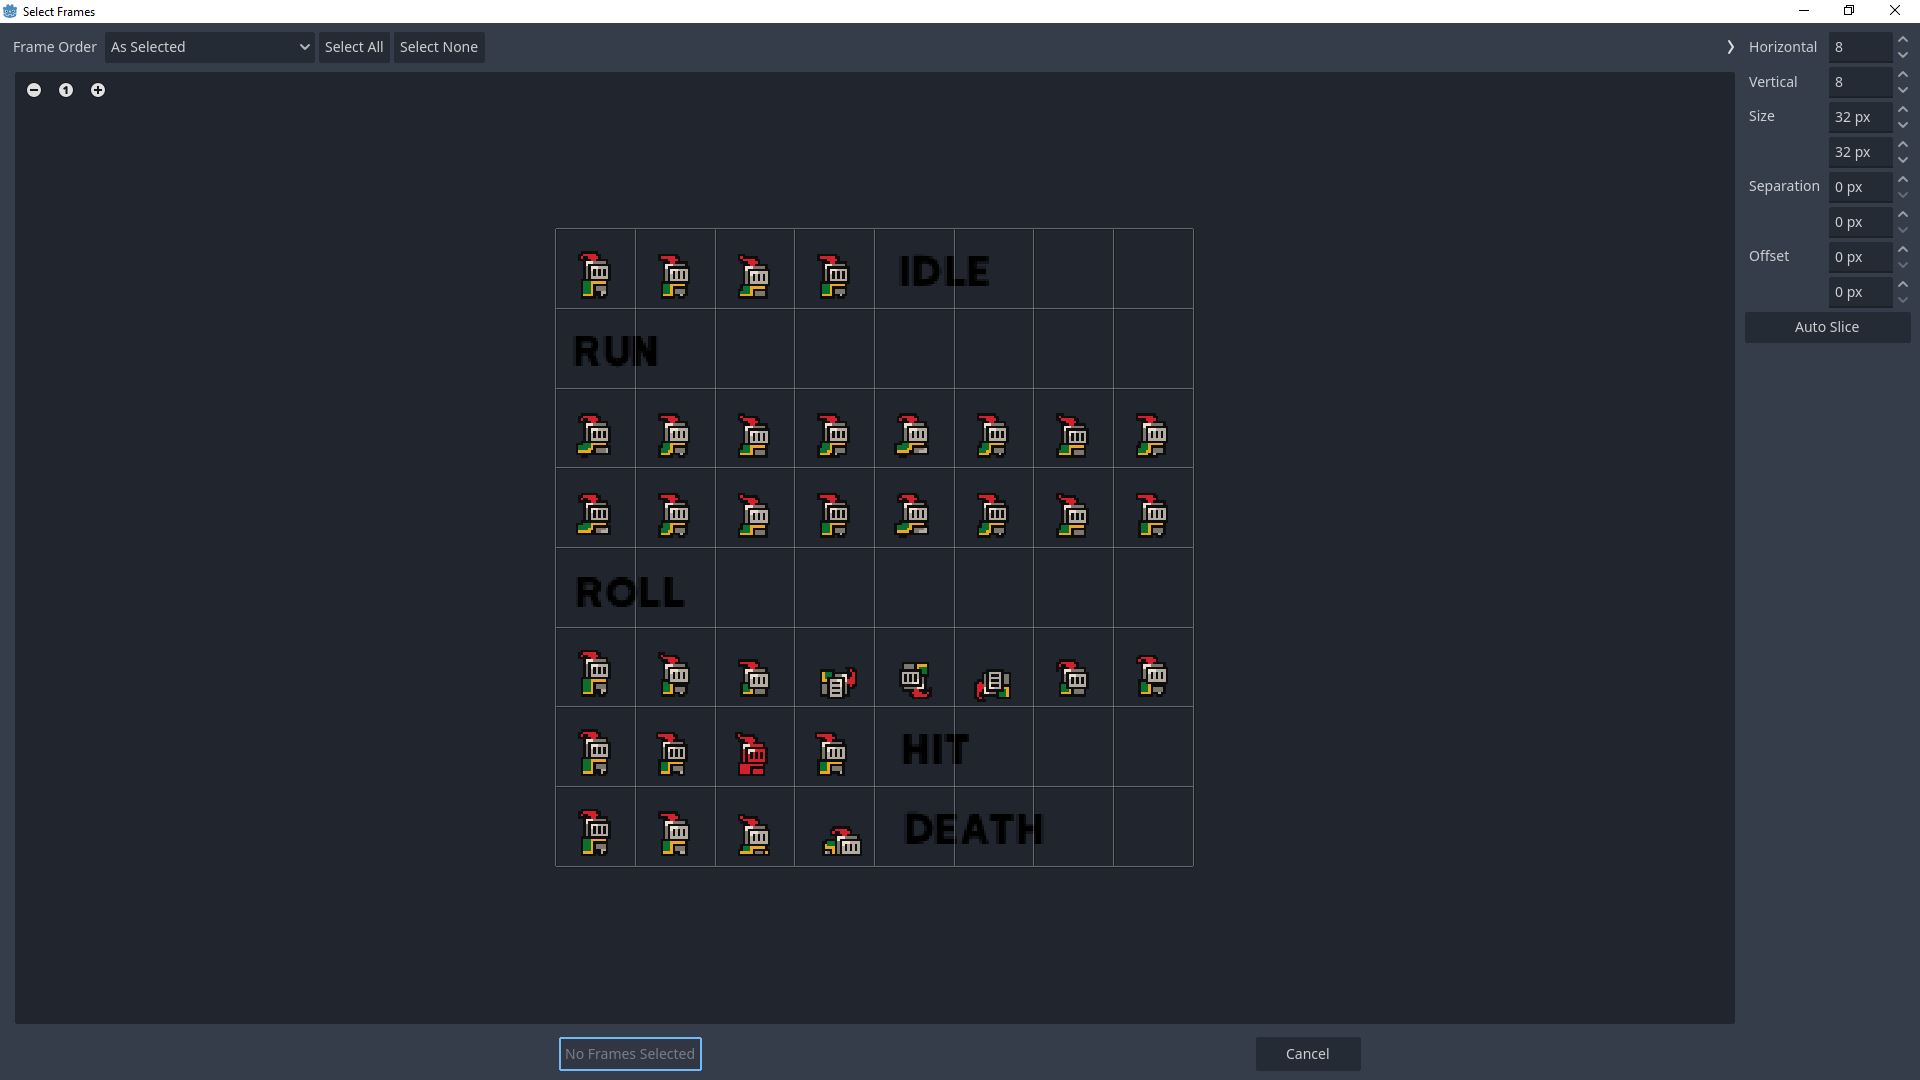
Collision shape and character sprite can be added by clicking on the appropriate menu item in the inspector on the left side of the application. For the sprite you will simply navigate to your chosen character spritesheet, then adding an animation and pressing the "Add frames from sprite sheet" button in the animation frames pop up window on the bottom of the screen. Godot makes selecting animations very easy, as once you upload your spritesheet and go to add the animation from the spritesheet, you can simply select each frame you want to be part of that animation from your spritesheet, resizing the grid as needed to fit your specific spritesheet.
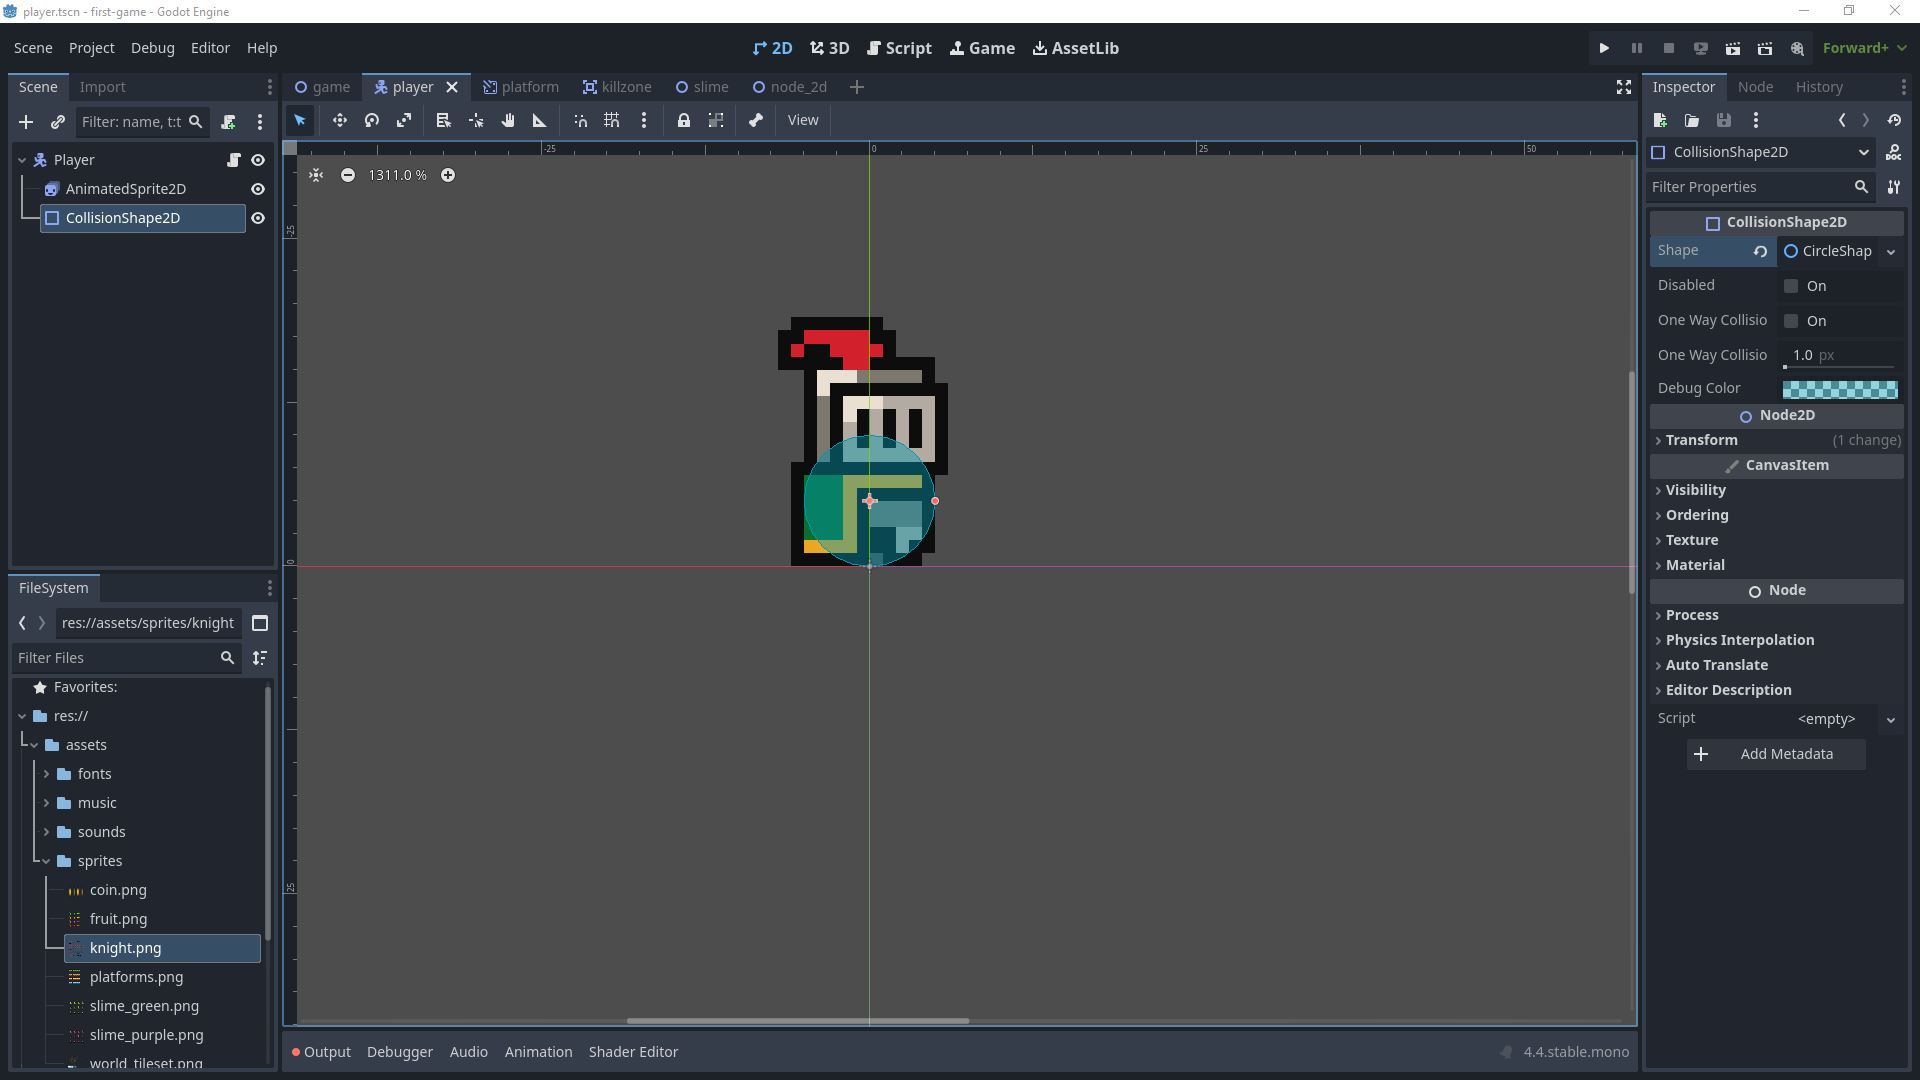
Collision shapes can be added by pressing the same menu button in the inspector for the CollisionShape2D, and you can choose any specific geometric shape to fit the style of gameplay. In this example I chose a circle and resized it to fit the character shape.
Finally, we've got to add a script to our player so that they can move around the world we create for them. To do this, click the add script button on the parent node. You will notice at the top we already have extends CharacterBody2D, meaning this script is an extension of the parent class. As this test game is a 2D platformer, we will need a couple variables to hold our speed and our jump velocity, as well as a reference to our player
const SPEED = 130.0
const JUMP_VELOCITY = -300.0

@onready var animated_sprite: AnimatedSprite2D = $AnimatedSprite2D
The main function that Godot uses to handle physics and movement is the _physics_process() function. Using this function we can define our character movement like so:
func _physics_process(delta: float) -> void:
	# Add the gravity.
	if not is_on_floor():
		velocity += get_gravity() * delta

	# Handle jump.
	if Input.is_action_just_pressed("jump") and is_on_floor():
		velocity.y = JUMP_VELOCITY

	# Get the input direction -1, 0, 1
	var direction := Input.get_axis("move_left", "move_right")

	# Flip sprite
	if direction > 0:
		animated_sprite.flip_h = false
	elif direction < 0:
		animated_sprite.flip_h = true
	if is_on_floor():
		# Play animations
		if direction == 0:
			animated_sprite.play("Idle")
		else:
			animated_sprite.play("run")
	else:
		animated_sprite.play("jump")
	if direction:
		velocity.x = direction * SPEED
	else:
		velocity.x = move_toward(velocity.x, 0, SPEED)

	move_and_slide()
And that's it! We utilize a few base Godot functions like is_on_floor() and get_gravity(), which are pretty self explanatory. We also use the move_and_slide() function to actually move the character on the screen. Next, we'll create a map for the character to move on, because if you try and play the game now the character will just fall off the screen due to gravity.